
Pantograph
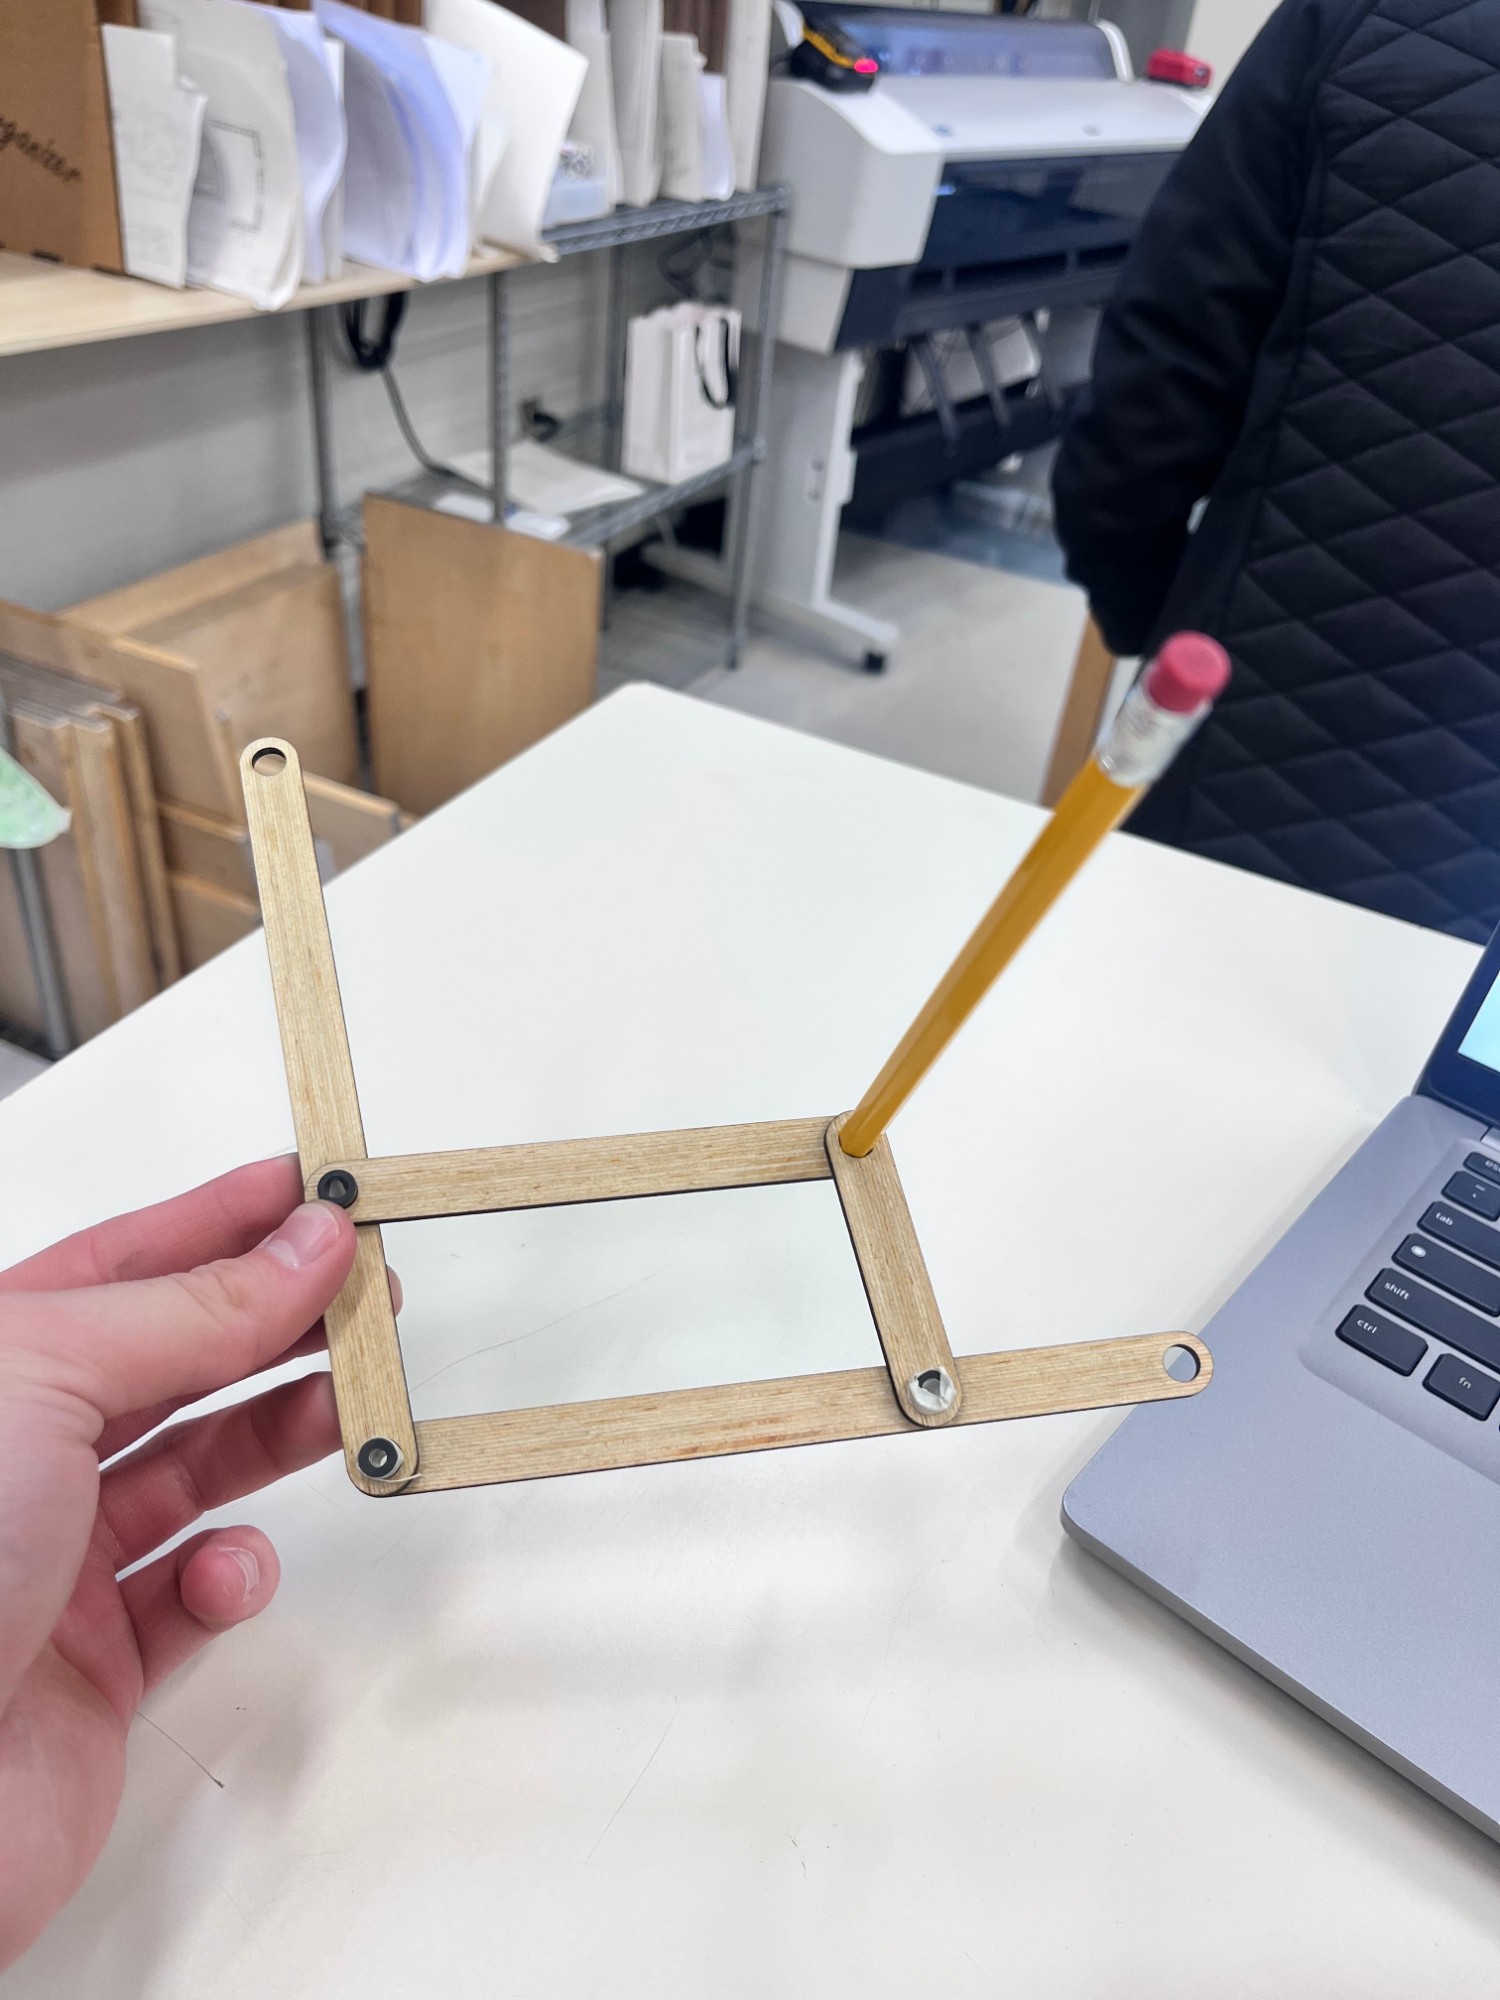
A mini project. Trace a small drawing, and your machine draws it 3 times bigger. Pick how to join your links, test it, and design flat laser-cut wood links that attach to the class drawing board. Then prove how accurate it is with your own measurements.
The problem
Larkfield Art Supply sells a drawing board to art classrooms. It has a small Trace Here box, a big Draw Here box, and a grid of pivot holes. They want a pantograph kit that turns the board into an enlarger. Trace a sketch in the small box, and the machine draws it 3× bigger in the big one.
The target
Two hooks. The machine does the drawing by itself, and you prove with numbers how close it comes to exactly 3×.
Average error 5% or less, and the copy lands fully inside Draw Here.
Fastened to the rig. One hand on the stylus, and nothing else touches it.
% error = | copy − 3 × original | ÷ (3 × original) × 100
5 = lands fully in Draw Here, and your average error is 5% or less. 3 = lands in the box, but the average error is more than 5%. 1 = doesn't land in the box, or doesn't work. Full wording is on How It's Scored.
How test day works
- Fasten it to the rig. Pin, clamp, or fasten your pivot at the spot you picked. Once it's on, it stays put with no hands on it. See attaching to the rig.
- Trace the test shapes. A 3D-printed insert with grooved shapes sits in the Trace Here box. Run your stylus around each groove. See the insert and your stylus.
- One person, one hand. One hand on the stylus, and nowhere else. No second hand holding the pivot or the board. Nobody touches the pencil end while it draws.
- The whole copy has to land inside Draw Here.
- Measure and find your error. Measure at least 6 features on the original and the same 6 on your copy. Work out the percent error for each, then the average. See the accuracy report.
The rules
- 3× bigger. Trace in Trace Here. The copy goes in Draw Here.
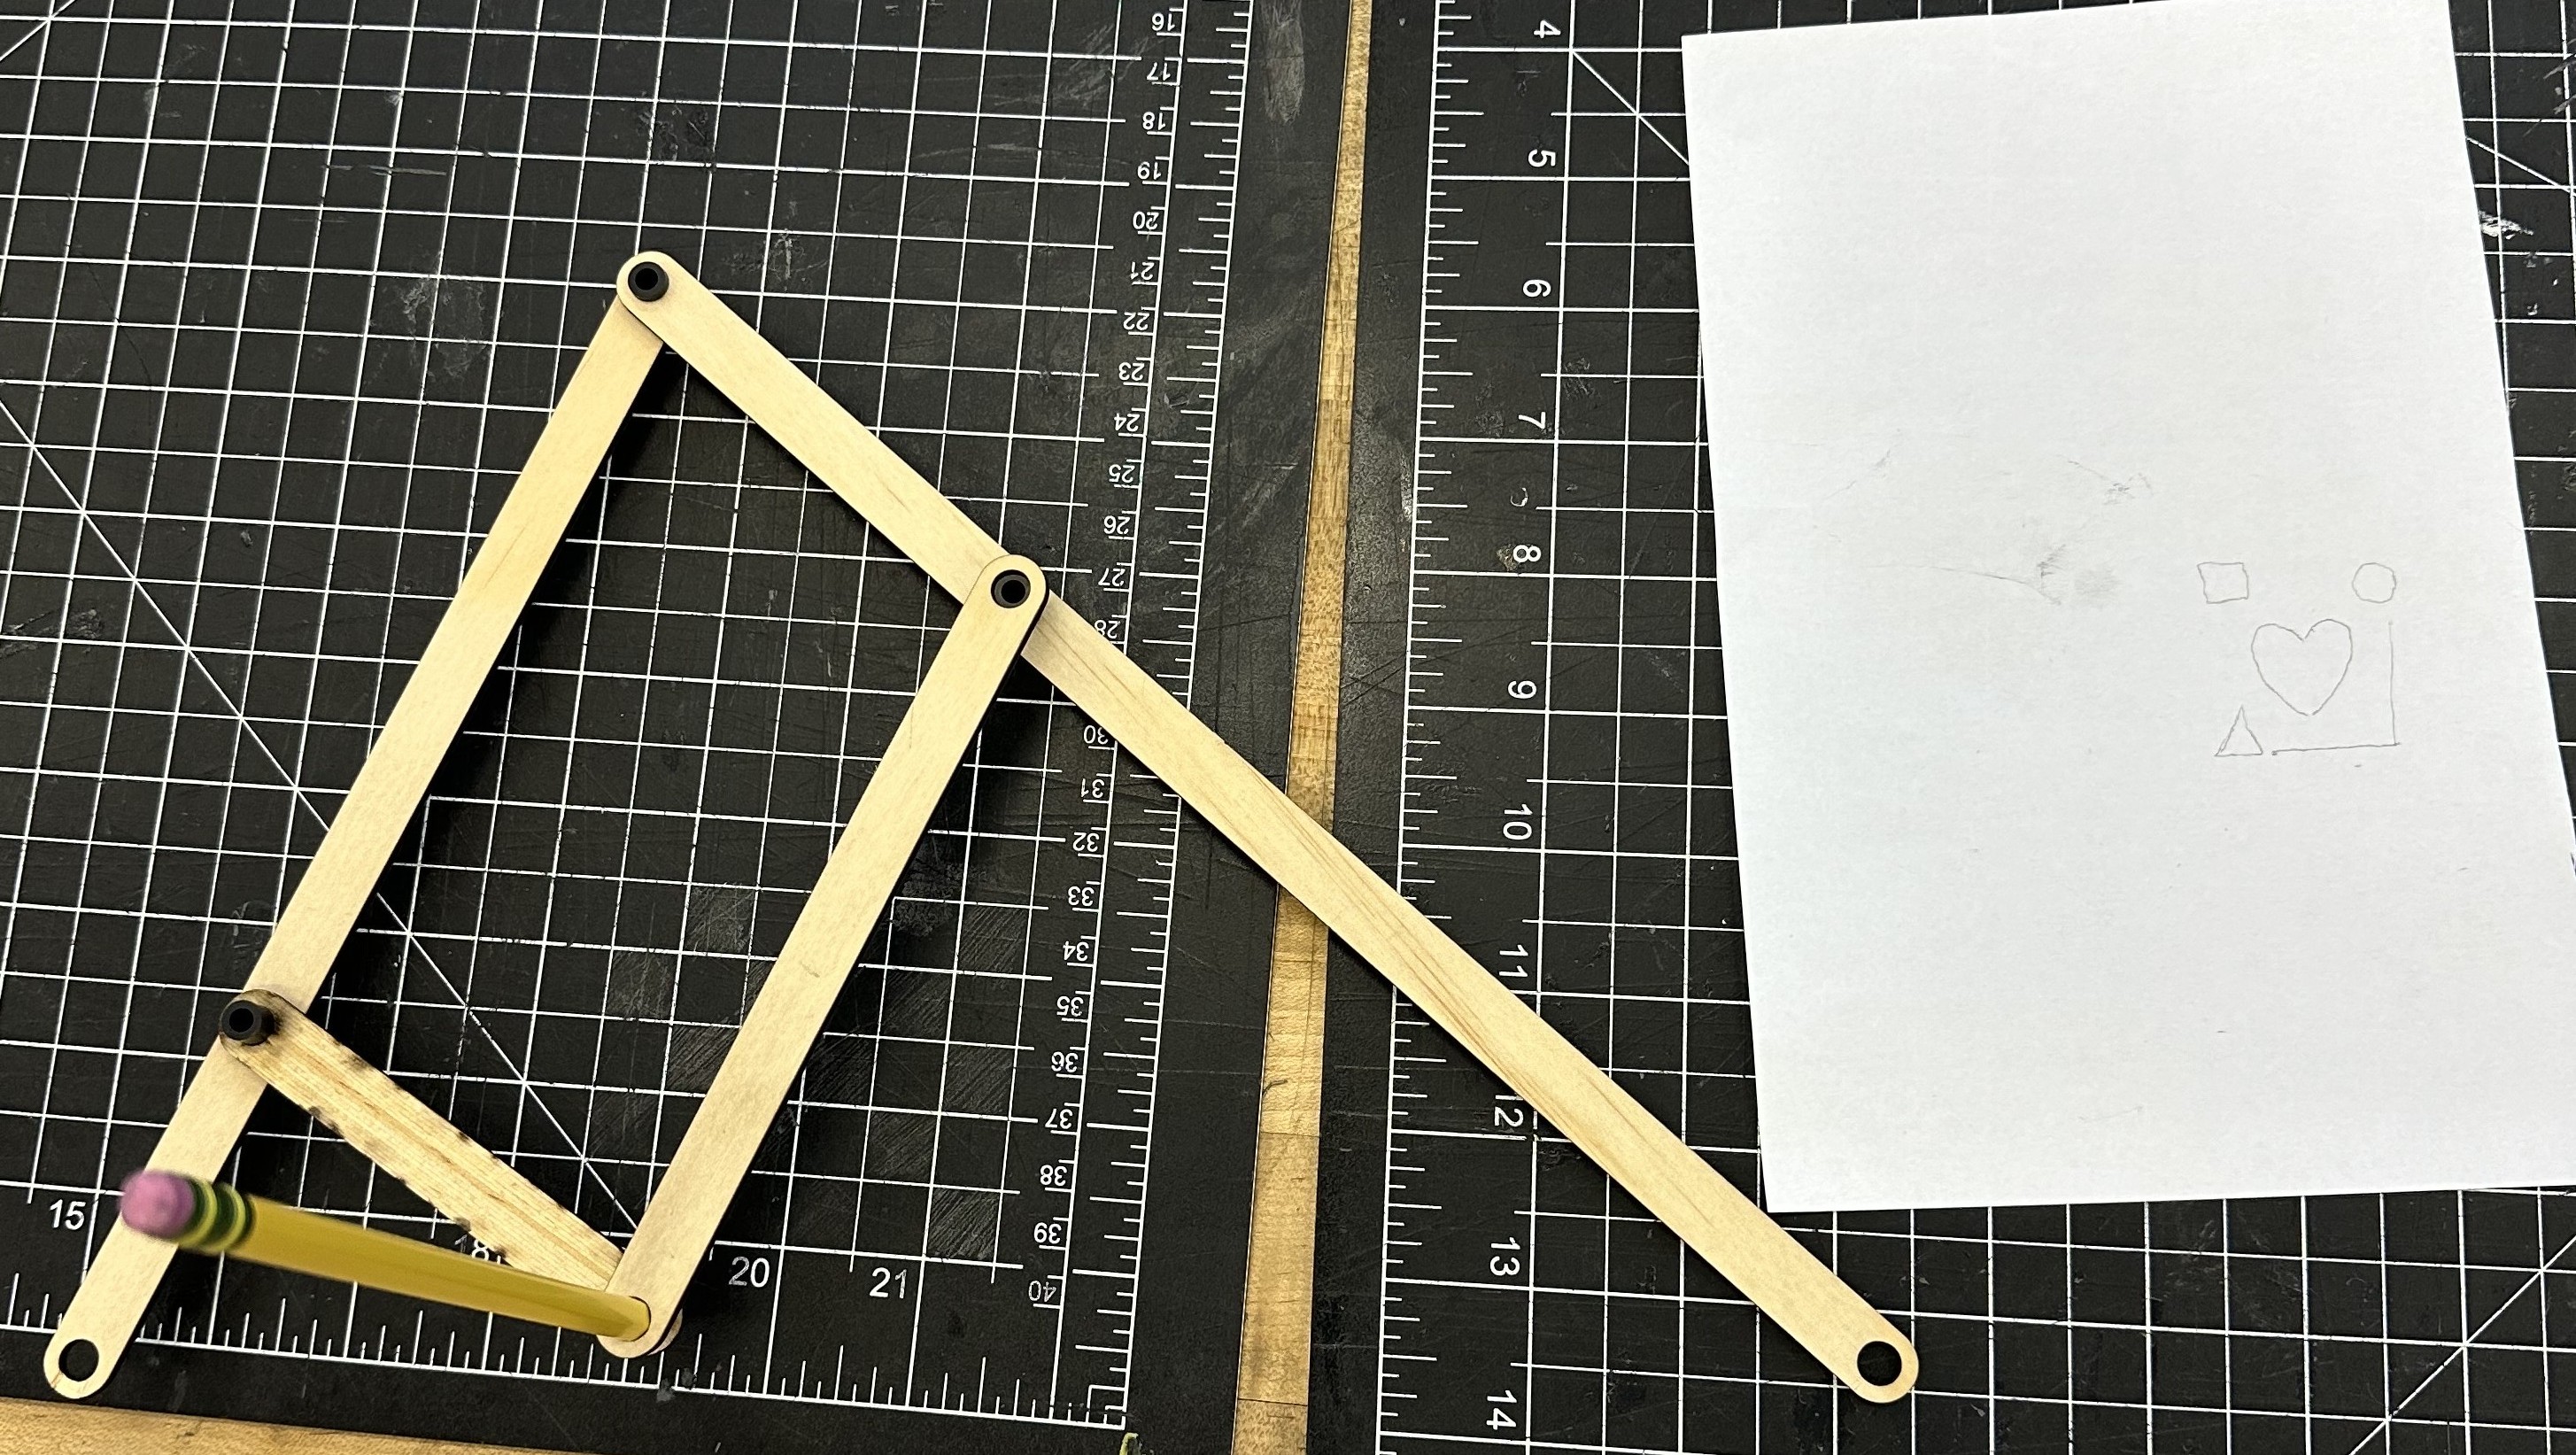
- One hand. This is the big one. The pantograph is pinned, clamped, or fastened to the rig. The only hand on it is the one on the stylus. The machine makes the 3× copy all by itself.
- 3× bigger. Trace in Trace Here. The copy goes in Draw Here.
- Attach at one pivot. The pivot holes grip a 7 mm nylon bushing, so that's one way in. A pin, clamp, or fastener works too. It has to hold with no hands, and come off without changing the board.
- Links: laser-cut 1/8 in plywood. No longer than 18 in, no wider than 1/2 in.
- Joints: your choice. M3 nuts and bolts, nylon bushings, 3D-printed bushings, or your own idea. Measure what you pick, test it, and design for how much it varies. See picking your joints.
- A stylus at the tracing point that rides in the insert's grooves, and a pencil holder at the drawing point. Both designed, not taped on. See the stylus and pencil holders.
- Don't touch the pencil while it draws. The machine does the work.
- An accuracy report from your test-day copy, in your presentation.
What you hand in
This is a team project for two. You document the work in your notebook, send photos to Google Classroom, and give a short presentation.
- Your notebook. Every stage, dated, as you go: the problem and the rules, research, brainstorm sketches, your joint choice and its measurements, the scale and pivot math, fit tests, and every version. See notebook and Classroom.
- Photos to the Google Classroom assignment. Your brainstorms, your research, Onshape screenshots, and the final product. Each of you submits.
- The pantograph. Working, fastened to the board, on test day.
- Your test-day copy and accuracy report. The copy it drew, your measurements of the original and the copy, the percent error for each, and the average. See the accuracy report.
- A presentation. 4 minutes or less, as a team. Show your brainstorms, Onshape screenshots, prototypes, and your accuracy report. Don't explain the challenge or the brief. Everyone knows them. Tell your own solution. See the presentation.
Your notebook must show these. Write out every step, not just the answer.
- Scale check: with your link lengths, show that the pivot, tracer, and pencil sit on one line, and the pencil is 3× as far from the pivot as the tracer.
- Pivot hole: which hole you picked, and where the center of your copy lands.
- Joints and variation: your joint method, 5 measurements of each part you use (smallest, biggest, average), and the hole size you picked for each fit, from your test cut.
- Accuracy report: 6 or more measurements, the percent error for each, the average, and the worst one.
Dates
4 minutes or less per team
Where to start
- The board: what you're attaching to, with its sizes.
- How a pantograph makes it 3×: the one rule every design has to follow.
- Picking your joints: compare the ways to join two links, then measure the parts you pick.
- The stylus and pencil holders: plan these from day one. They're the two ends that do the work.
Before you send anything to the laser cutter, read Making Parts in the shop procedures. Wasted wood counts on your daily grading page score.